· By Lauren Morton
5 tips to master an at home photoshoot
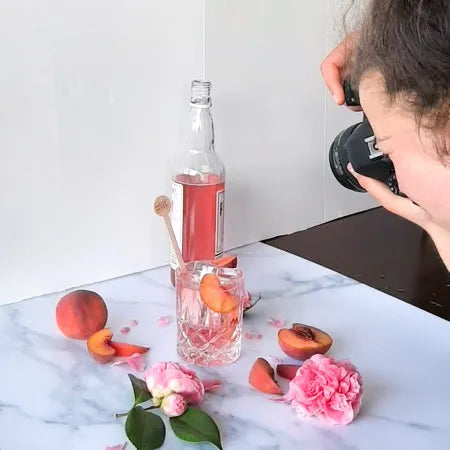
Whether lockdown has put your professional shoots on pause or you’re keen to uplevel the quality of the content you’re capturing for your personal brand; here are some super simple things you can implement to nail your photoshoots from home.
- Find a window: You don’t need a bunch of fancy artificial lighting equipment to create well lit images. Set up your subject next to a window and make use of the natural light coming in. A north or south-facing window will generally produce best results since you’ll be getting more soft, consistent, indirect light. However if you are after a more dramatic effect with harsh shadows, east-facing windows are ideal since the sun will generally be shining right on through.
- Reflect that light: Want to know a photographer’s best friend? A white board/foam core (even a sheet of white card/paper from the craft store will do!) These are a great tool you can use to play with shadows and reflect the light coming from your light source back onto your subject. Alternatively you can also use a black board to enhance shadows and block extra light from coming into your shot.
- Clean your lense (especially if you’re using the camera on your phone!): We all know how grubby our phones can get and you’d hate to find out you have to start from scratch because all the shots taken were filtered through grease from the pizza you ate before-hand or dust specks from your handbag/pocket. Give that camera lense a quick wipe clean before you start capturing to make sure your pics are looking as crisp and clear as possible.
- Use those grid lines: Yes you can always adjust images when editing later on but this is just an extra step that could be avoided altogether if you line up your horizon line properly straight on the camera screen. You can also use these lines to assist your placement of the items in your shot and implement composition techniques like the ‘rule of thirds’ to help determine the point of interest in your photo (aka the main aspects of the subject, product etc. that you’re wanting to draw attention to.) To switch the grid on…
-
- iPhone: Go to “Settings,” choose “Photos & Camera,” and switch “Grid” on.
- Samsung Galaxy: Launch the camera app, go to “Settings,” scroll down and switch the “grid lines” option to “on.”
- Have a plan: It’s helpful to have a good idea of the shots you need/want to capture before you begin shooting so you know what you need to come out of the shoot with. This will help you be much more efficient with your time and props etc. since you won’t just be taking a bunch of random shots and hoping for the best (but also don’t let that limit your creative juices in the moment! Get creative and make the most of your setup while you can.)
